Home        About        Kelly's Favorites        Videos        Contact        Legal Disclaimer

Showing posts with label Navy I Do. Show all posts

Tuesday, June 2, 2015

Mani Monday: Easy Nail Art With A Toothpick

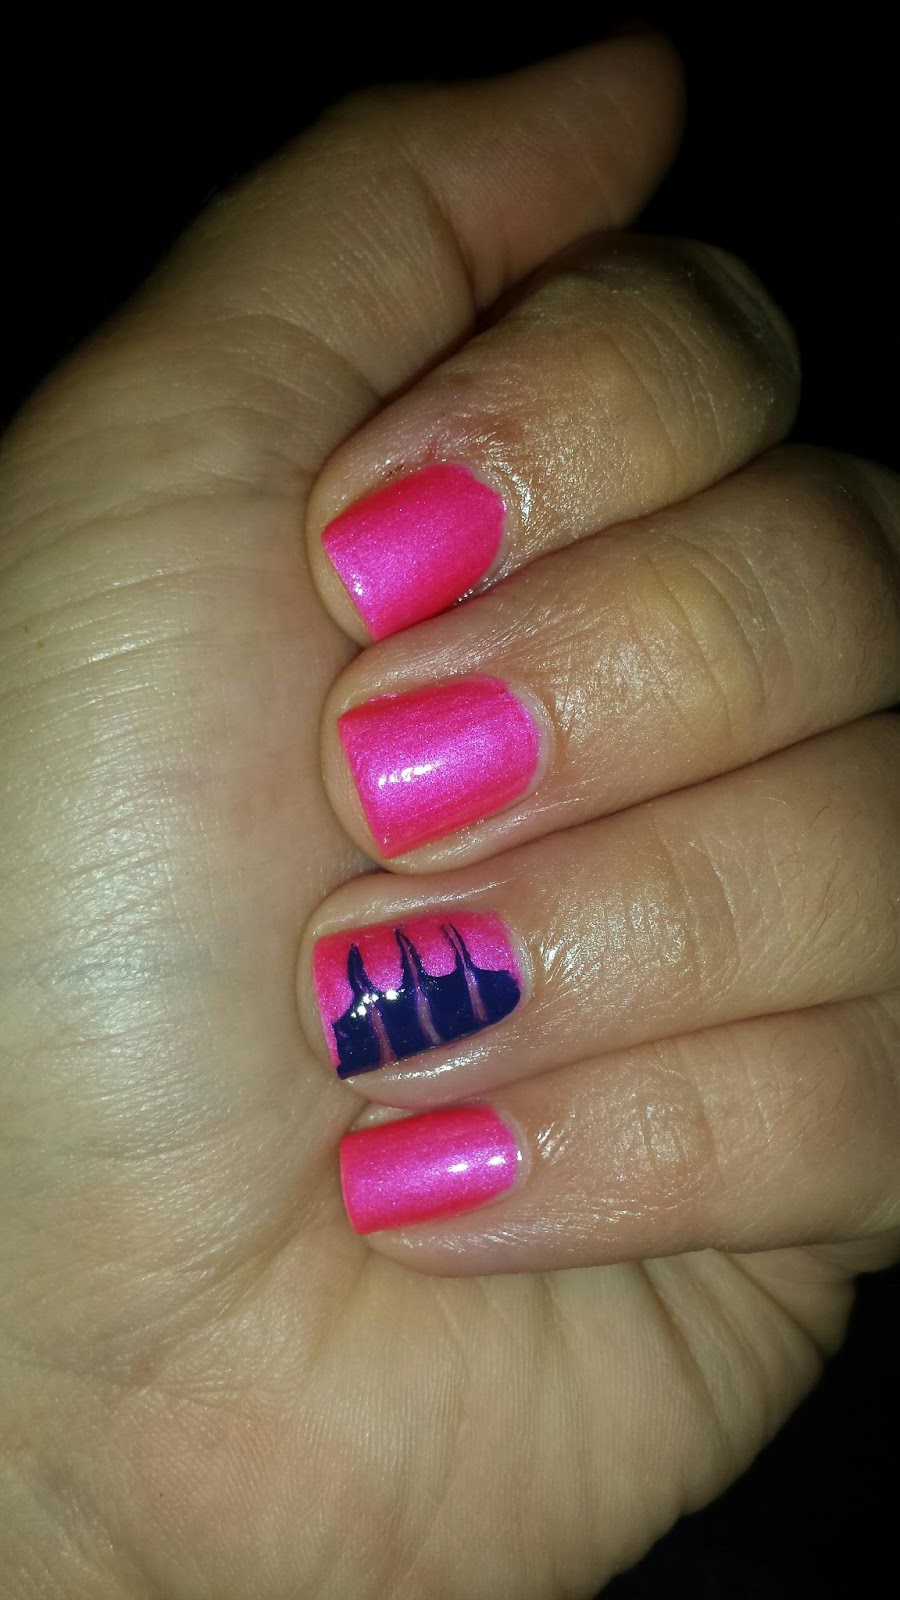
It's Mani Monday and here is an easy nail art manicure using a toothpick! I am loving Mani Monday, it definitely makes Mondays more bearable! This is an easy manicure and the only thing you need is two nail polish colors and a toothpick. I saw a video on YouTube quite some time ago by Cutepolish, using this technique. However, she used three colors and I am only using two. Check out her tutorial here! The colors I am using are Sinful Colors Daredevil and Sinful Colors Navy I Do. Both have a creme finish according to the Sinful Colors website, however, Daredevil does have a slight shimmer to it. I think these colors work perfectly together, but you can use any two colors you like.

Step 1: Apply a base coat. I used Sally Hansen Hard As Nails Strengthener.

Step 2: Apply a base color. I used Sinful Colors Daredevil.

Step 3: Pick another polish color and paint a stripe of it down one side of your nail. Then while it is still wet, drag a toothpick through the stripe of color and base color and stop just before reaching the other side of the nail. I used Sinful Colors Navy I Do for this step. I chose to only do an accent nail, but you can do all of your nails like this and it would look super cute! I would recommend working one nail at a time with the second color and toothpick though, as you don't want this color to dry before dragging the toothpick through it.

Step 4: Apply a fast drying top coat. I used Sally Hansen Insta-dri top coat. Then clean up the cuticles with acetone or nail polish remover, if necessary. Let the polish dry completely and then finish up the manicure by using a cuticle oil of your liking to moisturize the cuticle and around the nail. 


Toothpick Manicure using Sinful Colors Daredevil and Navy I Do.

There you have it! An easy manicure; and all you needed was a toothpick! Happy Monday and happy painting everyone!

**This manicure is from a few weeks ago. I finally had time to finish writing the blog and post it! Sorry for the delay!

Mani Monday: Swirls

It is Mani Monday with pretty swirls! I used three colors in this manicure. The base color is Sinful Colors Easy Going. This a very very light pink. It has a creme finish and is opaque in two coats. For the swirls and nail tips, I used Sinful Colors Navy I Do. This is also a creme finish, true navy color. It is a limited edition color from the Spring 2015 Collection. Over the Navy I Do, I used Sally Hansen Hard As Nails Ice Queen, a silver glitter with chunky blue glitters mixed in. I just wanted this manicure to have a little sparkle and Ice Queen was the perfect thing! Ok so onto the manicure!

Step 1: Apply a base coat. As usual, I used Sally Hansen Hard As Nail Strengthener for that.

Step 2: Apply a base color. You can use any color you like for this. I used Sinful Colors Easy Going.

Sinful Colors Easy Going
Step 3: Pick out the right nail art brush. The one I used was a little big, I didn't realize until after I started, but I was already committed and if I am being honest, I was just too lazy to start over! 

Step 4: Pick out a color that complements the base color. I used Sinful Colors Navy I do. Decide which nails you want to have a french tip on and which nails you want to have swirls on. I decided to put swirls on my middle and ring fingers. If painting a french tip is hard for you, like it is for me, I find the easiest way to do it is to hold the brush steady at the tip of the nail and rotate the finger in the opposite direction. So, if you are working on the right hand, you would hold the brush steady at the tip of the nail and starting at the the left side of the nail you rotate your finger until the brush reaches the right side of the nail. You would reverse this for the left hand. The swirls you just free hand and anything goes with those. I find it best to use small strokes with the brush for the swirls. 
Sinful Colors Navy I Do for Swirls and French Tip
Step 5: This step is optional. I wanted a little sparkle in this manicure. For the sparkle, I used Sally Hansen Hard As Nails Ice Queen. I just applied it over the Navy I Do for a little pop.

Sally Hansen Ice Queen over Navy I Do
Step 6: Apply a fast drying top coat to seal the polish for a long lasting manicure! As always, I used Sally Hansen Insta-dri top coat. After you apply the top coat clean up the cuticles, if necessary. I do this using acetone. I find it works better than regular nail polish remover. Just keep in mind that acetone is extremely drying! So I always use a cuticle oil after I am done painting my nails and cleaning up the edges. I like Sally Hansen's Vitamin E Cuticle Oil. I like this because it has the vitamin E in it, however, if you have coconut oil handy, it is a million times better! I tend to switch between the two. Once I finish this Sally Hansen cuticle oil, I will stick to coconut oil only.  

Finished Manicure
Well there you have it! A really pretty manicure. This one does take some time and patience, but the end result is worth it! Happy Monday and happy painting!

**I did this manicure about a month ago, and haven't had time to finish writing the blog post about it until now! Sorry for the delay everyone!